
And also - this is gonna sound strange - I'm not taking as many pictures because I'm not wearing a jacket anymore. You see, I usually keep my iPhone in my jacket pocket so I have it handy to snap a pic whenever, but now that it's warmer (today it was like 96!) I'm not wearing a jacket and my barn/work around the house pants don't have pockets. So, no iPhone in my pocket = not as many pictures. Oh well, descriptions will have to do.
Once the contractor finished the roof and skin of the barn, it was our turn to move in and get started. We had to build out the stall, the hay storage, and of course, put up the storage room and the tack room.
Our neighbor, who teaches construction classes at the local community college, came over to help us frame out walls. We'd done it twice before, but it was really great to have someone who'd done it a million times and knew ALL the tricks.
 If you've never framed a wall before, the first thing to know is you don't build it in place. You build it on the ground and stand it up. Here, the hubby is nailing studs together to the headers. (A framing nail gun is a MUST for this job.)
 Here's what the wall looked like mostly done.
 Once finished, you stand it up into place and hope like hell you've measured everything right. If not, you whack it a few times with a mallet, and/or shim it a bit to get it to work.
 You double-check that everything is centered and as level as possible (and BTW... NOTHING is ever square. Ever.)
 And... volia! We (the hubby, myself, Fuzzypony, and our neighbor) managed to frame four walls in about three hours - not bad for a bunch of amateurs under the supervision of one professional!
 Then we continued on our own and put up the interior wall between the tack room (where I'm standing to take this picture) and the storage room. The hubby and I did this in an evening - we were feeling pretty proud of ourselves!
 We hung the ceiling, with Fuzzypony's help. The ceiling in both the tack room and storage room are just plywood, but the tack room ceiling will be painted white.
 We also put up the walls (plain plywood in the storage room, and beadboard in the tack room - it's gonna be gorgeous!)
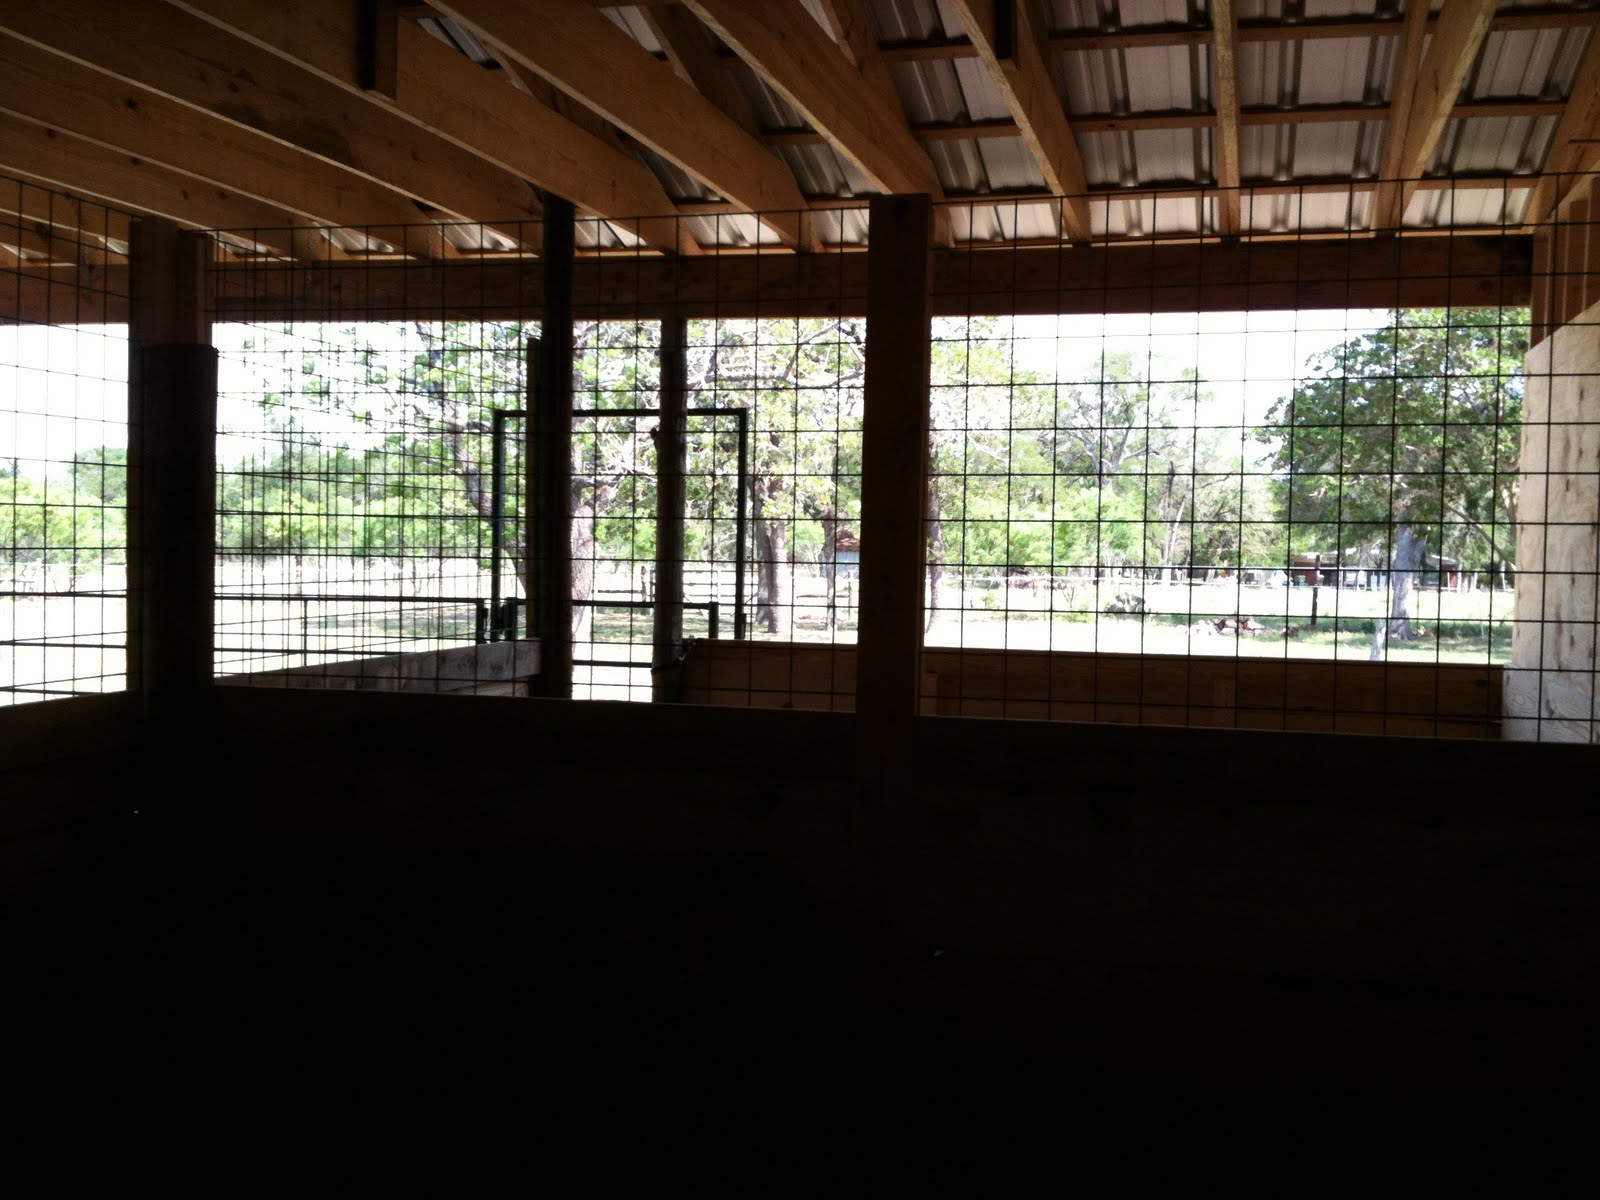 In the horse area, we put up the stalls - one of which is actually a stall, the other of which is hay storage. They are divided by heavy wire mesh.
 We put up 2x10 kickwalls all around, and installed the gate.
 We also put a gate across the hay storage, with mesh to keep the chickens out. It was pretty exciting to put pallets down and stack hay in there!
 Here's what the horsey area looks like from the gate (boys are nomming on a haynet).
 And we laid down mats in the grooming/tacking area (well, still gotta put down the last two, as you can see in the lower right).
There is still LOTS to do - we need to run electrical and water, put in the walls in the tackroom, paint, put down tile floors in the tackroom, finish the driveway... sigh. It's a long list. But, the barn area is functional for horses right now, and we're working on it pretty much daily. We'll get there... eventually!
THIS IS SO COOL!!!!
ReplyDeleteIt's just beautiful! Totally jealous of your air gun.
ReplyDeleteI'm super jealous!! It's looking amazing, though. I love that you guys are doing the work yourselves. :)
ReplyDeleteYou have to post the comment made by your hay guy. Not that it isn't perfectly clear that it's a perfect barn...
ReplyDelete