Showing posts with label sewing. Show all posts

Tuesday, January 26, 2016

DIY - recovering an old saddle pad

I love saddle pads, but I rarely buy them. We have so many of them that, despite being 10 years old, are in pretty good shape. No tears, no holes, just some loose piping. However, they're sad and faded, and I'm more than a little bit tired of them. So I decided to pull some fabric out of my (terrifyingly large) collection and see what I could do about giving the pads a new look and some new life.

(If you're looking to make a saddle pad completely from scratch, try this blog post for instructions. It also has slightly more detailed instructions on assembly than this post, so you might use it for reference.)

Sad, faded pad with loose piping, but otherwise sound and serviceable.

First, take a seam ripper and pull off all the piping and trim. If you've ever wondered what's in the middle of most saddle pads, it's a piece of 1/4 inch open cell foam (the yellowish stuff peeking out from the edge) - same stuff that's in your couch cushions. This is why most pads don't breathe very well.

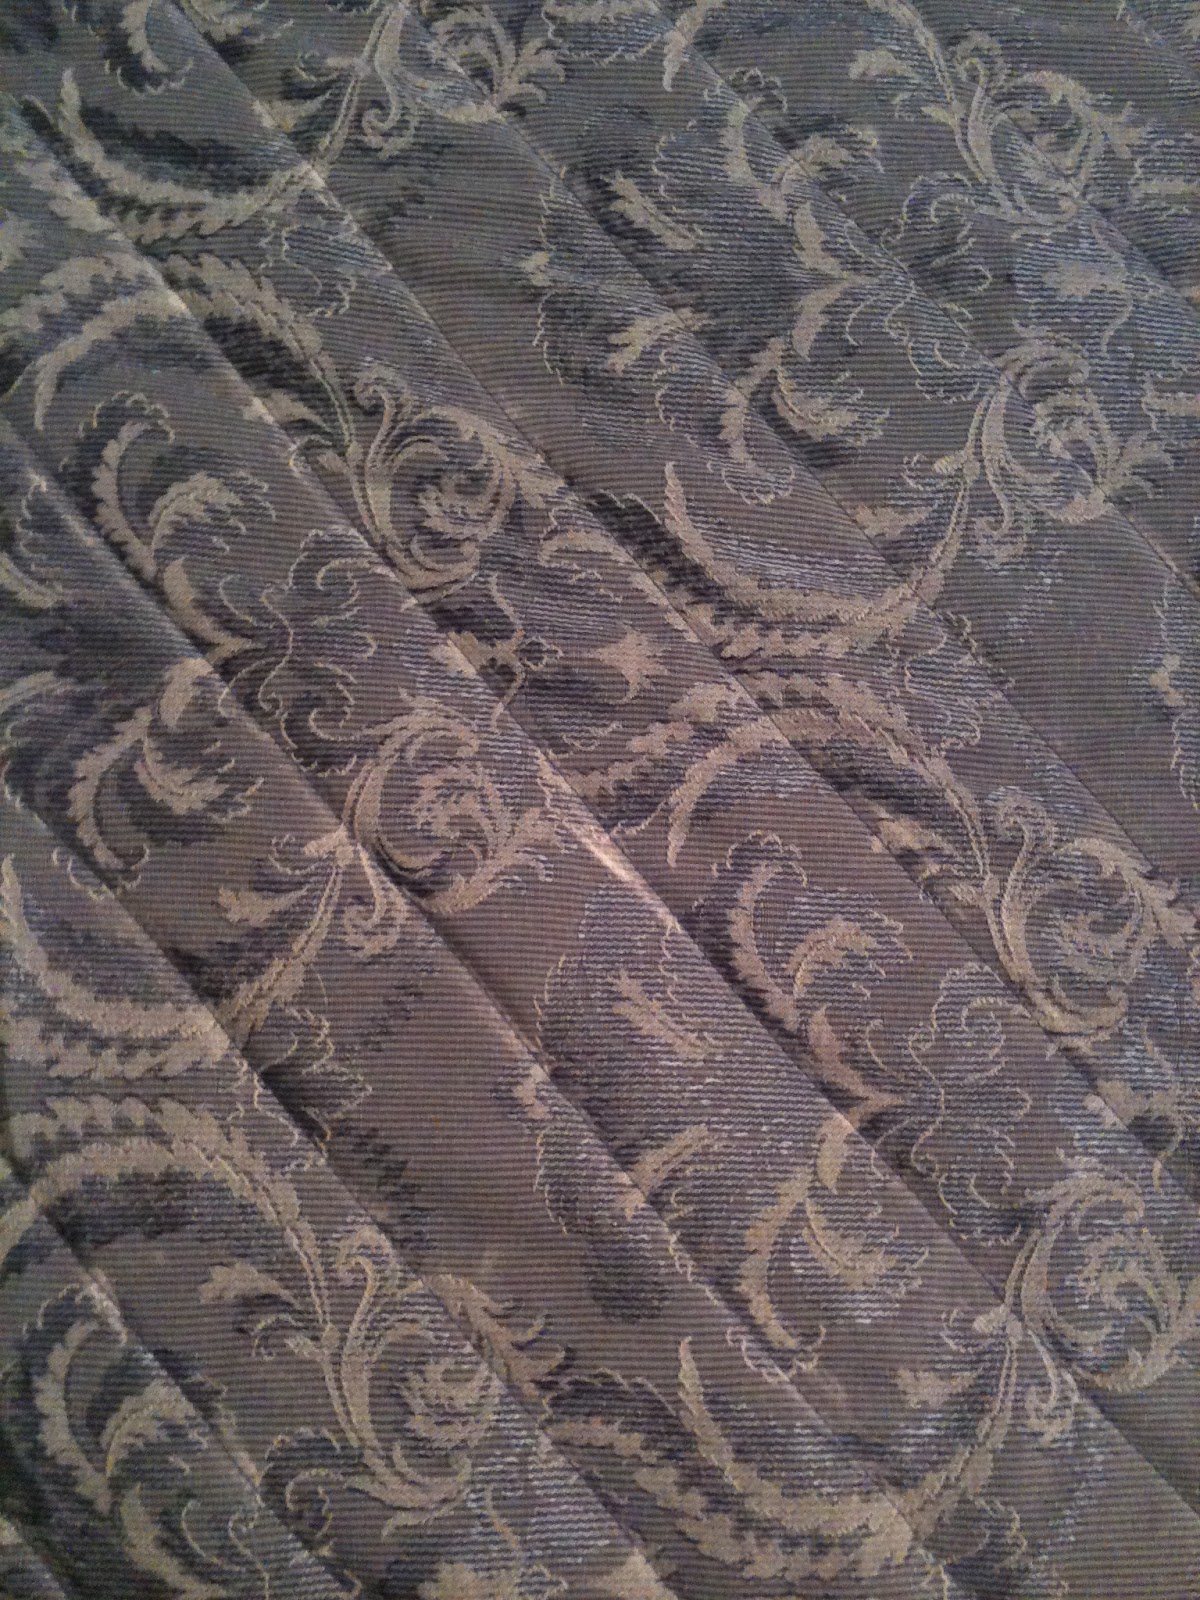
Next, cut two pieces of fabric to roughly the right size. Be sure to leave about 2 extra inches on each piece over the spine area.  Pin your cover fabric to the pad using LOTS of pins - the goal is to hold the fabric to the pad while we quilt it. Embiggen pic to see all the pins I used.

Use a straight edge and some chalk to mark the diagonal quilting lines going one way...

... then sew them down. Mark the lines going the other way, and sew those down too.

Once you've quilted the fabric on, run a line of stitches around the outside edge of the pad to make sure the fabric doesn't bubble or gap.

Snip away the excess fabric. It's starting to look like a saddle pad! 

Next, we need to connect the two halves of our fabric over the horse's spine. Lay one side down flat (the one I'm holding on the left is the side I chose to lay flat - at the bottom of the pic, you can see how it's been tucked under the other piece of fabric)...

... then fold the other side over top to cover up the edge. You can see at the top of this pic, I've folded over the edge and pinned it, but I haven't done the part at the bottom yet. 

Here's what it looks like all pinned in place. Use LOTS of pins!

This is Jen. Jen is an idiot and used a medium weight needle. Don't be like Jen. Use a heavyweight needle so it doesn't break when going through your saddle pad and heavy fabric. 

You can run a second set of stitches down the spine if you want - I did it so it would look symmetrical, but it's not necessary. Here's what the spine of the pad looks like after everything has been stitched down. 

Next up, the edging! I used double fold bias tape in a complimentary color. Bias tape is awesome because it's been cut on the diagonal (bias), which allows you to bend it neatly around curves. 

Exhibit A: tidy curve with no wrinkles or folds. Once again, use lots of pins to make this work well. If it's wrinkling, use more pins. Seriously. And go slow when you're sewing it down.

Here's what the corner looked like after it had been stitched down and all the pins were removed. 

Starting to look like a saddle pad!

You might be wondering what the back of it looks like - not so great. If you do much sewing you'll realize that I cheated when I sewed on the bias tape. I should have sewed it from the back side first, then stitched it down from the front. I did it all in one step because I'm lazy, but you can see that means the back doesn't turn out as nice. Whoops. Check out this post for better instructions on how to sew on bias tape.

Next up, the piping! Use a seam ripper to make a very small hole in the stitching on your edging, then stuff the end of your piping in the hole. Tucking the end of your piping under your edging will prevent it from fraying.

Sew that sucker down, then use a big zig-zag stitch to go over your piping all the way around.

Here's what it should look like when you're done - you can just barely see the white thread I used to zig-zag over the piping to hold it down. You can also see the little lump in the edging that's the end of the piping.

Note that I chose not to put piping under where the girth goes. That's a high wear spot and I didn't want the piping to get rubbed. 

Annnnd, the finished product! 

I love the fabric I used for this and was pretty happy with how the whole thing turned out - as you can see, I pimped out a bonnet to match. One of the things I like the most is that this ensemble will go with a variety of outfits for the rider, if you're into that matchy-matchy thing. As part of our Spring 2016 collection, you should see Courage sporting this look on Aimee's blog... I wonder if she'll pair it with blue polos, or cream? ;)

Monday, December 7, 2015

Things I do when I’m not riding (aka “hobbies”)

Someone started a blog hop about non-riding hobbies a while ago, but as usual, I'm late to the game. Plus it seems like all of our hobbies are horse-related – foxhunting, jousting, trail riding… so what’s left?

Laundry
You’d think we wouldn’t have much since there’s only two of us we wouldn’t have much laundry, but the reality is that we go through 2-3 outfits per day. Plus there’s horse laundry and dog laundry (omg how do horses and dogs make SO MUCH LAUNDRY???). I do at least one load per day, and often more. So I’m pretty sure this counts as a hobby.

This was load #4 on Saturday. Note useless dog snoozing in the background.

Manure management
One of the challenges of owning horses on small acreage is what to do with all the manure. I spend a great deal of time mucking, then turning the pile, then spreading the “cooked” manure back on the pastures. At least I stay fit?

When they say steaming, they aren't joking. This pile gets HOT.

Cooking and baking
In the summer we tend to eat a lot of raw foods, just because it’s so hot out and turning on the oven sounds like a horrible idea. But in the winter, I basically want to bake everything and make roasts and soups and stews. I make most of our bread (I cheat with a bread machine), plus pizza crusts, focaccia, kolaches… ALL THE CARBS. I tend to keep ingredients simple and will go out of my way to find a recipe that doesn’t use processed ingredients (do you know how hard it is to find a recipe for caramels that does NOT use corn syrup? Or one for pumpkin pie that does not use condensed milk???). I’m pretty good at substituting when baking too. Not enough eggs? Add more milk. Don’t want to use that much butter, or hate putting oil in?  Use applesauce instead. It's kind of like a chemistry experiment.

This giant pile of basil (from our garden) got turned into five jars of pesto. 

Gardening
We have two gardening seasons here – spring and fall/winter. Our spring season starts around Feb 15 and I usually pull everything up around June 15 – after that it’s just too hot for everything except peppers, cucumbers, and squash. Oh and okra, which I hate. The fall/winter season is great though – Sept 15 through early February. We watch the weather pretty carefully so we know when to cover the plants, but usually the lows are above freezing so we don't have to worry too much. Right now we have broccoli, lettuce, kale, spinach, and a bunch of herbs. We generally get veggies for 3-4 nights per week out of our garden when it’s growing well.

Broccoli! Did you know the leaves are edible too? You saute them like kale or spinach, with a little oil, garlic, and salt and pepper. Delicious!

I also can our tomatoes (whatever we can't eat fresh), and make jam out of the plums and peaches we get from our fruit trees.

Sewing
I used to sew a lot for our medieval reenactment and jousting, but now that we’ve got a decent wardrobe, I tend to sew in binges (like when husband needs a third gambeson because we’re going to a week-long joust with no chance to do laundry, or the week before a new nephew is born and I seriously have to get that baby blanket done). I’m pretty good at reverse-engineering something, and typically make my own patterns. Interestingly, I’ve never made anything “mundane” to use or wear – only clothing for medieval reenactment. I’ve never made a quilt (I get that question a lot), and I can’t knit or crochet, only sew.

Scarves for my nephews - I found some pictures of a fox scarf online, and then designed these guys.

Some of my favorite pieces are this saddle pad...

I made this back in 2013 and it still looks new. It's also everyone's favorite pad, so it sees a lot of use.

... and hubby's heraldic trappings, which are based on the trappings of Ulrich von Lichtenstein from the 13th century Manessa Codex. The trappings took over 200 hours to make and were a birthday present one year. I’ve told hubby to take care of them because he’s never ever EVER getting another set like them. EVER.

The solid squares have Gothic letters appliqued on them (it spells out Hold Fast Macleod, and the rein covers also say Hold Fast). The parti-colored squares are pieced together and each one has a wyvern appliqued on it. 

I think there are something like 41 wyverns on that sucker, each of which I traced on black fabric, cut out, ironed on, then appliqued over. NEVER AGAIN.

Reading
I’ve always got a book going, although these days the only time I have to read is right before bed, so I’m lucky if I get more than 5 pages in before passing out. I love historical fiction, but occasionally dabble in sci-fi and fantasy because hubby reads those and sometimes I'm desperate for a book. I try not to read anything too exciting because it will keep me up at night. I just finished Cryptonomicon by Neal Stephenson, which fits into none of those genres but was excellent nonetheless. Currently I’m re-reading Shogun by James Clavell, because it’s Shogun.

Working on the house
We bought this place 6 years ago and I'm embarrassed to say it's still a construction zone. Currently we're working on the trim in the hallway (ok, we've been working on it for like a year, whatever).  At least I have something to do when it's too hot to ride in the summer or too dark to ride in the winter!

That day we decided to replace the vent hood in the kitchen (note the chai in the overhead cabinet).

Complain about the weather
This is a time-honored tradition around here. In the summer, it's too hot. Below 50? Too cold. If it hasn't rained, we're in a drought, and if HAS rained, there's flash flooding. Basically, we can't win, so we just whine instead.
That one time when most of the back pasture was quite literally under water.

Sooo... what do you do when you're not riding? 

Sunday, June 2, 2013

Custom saddle pad - made from scratch!

Last week, I did a post on how I dressed up some rather plain saddle pads. Since then, I haven't had much time to sew, but I finally got a few hours this morning to finish up the pad I made from scratch. 

The finished product.

There are a couple of sites out there on how to make pads, but most of them are baby pads that use thin store-bought quilting as the backing. That's great if you want to make cute baby pads - it's pretty quick and easy. However, I was looking for something more sturdy, and fancier. Plus - not gonna lie - I have boxes and boxes of fabric that either need to be sewn up or given away. Might as well sew it up!

For my backing, I decided to use some felted wool I had leftover from a cloak-making project years ago. If you use a wool half-pad, you know how cool wool keeps the horse's back - much more so than most of the foam-filled saddle pads that are on the market today. The felted wool I have is quite thick, but I opted to do two layers of it for additional stability. For the facing layer, I used some very nice brocade I had laying around.

To start, I laid out a dressage pad I like onto my wool, and cut out 4 of those. Next, I laid the wool on the brocade and cut out 2 of those. Be careful to make sure you've got the pattern going the right way if you're using a pattered fabric, and make sure you do a left and a right piece.

Be sure to cut your top fabric a little larger than the bottom - everything will shrink up a bit when you quilt it together, so having extra is a good thing.

One you've got everything cut out, you're going to lay all three layers of one side together, brocade on top. Then, using pins every 3-4 inches, pin all three layers together. Use lots of pins! When you're finished, you should be able to pick up the entire stack of three layers and have them all move together.

For this next step, you need chalk and a ruler. This is a dressmaker's ruler, 2 inches wide. It's a convenient width to make your quilting.

With the chalk, mark diagonal lines every 2 inches all the way across the brocade. 

Next, sew over all the lines, removing your pins as you go. When you're finished going one direction, do the same thing the other direction.

Here's what it looks like after you've quilted it together. Starting to look good!

After you've quilted both halves of your pad, trim off any excess fabric around the edges.

Next, put the brocade sides together. Using a wide zig-zag stitch, sew along the top of the pad, as close to the edge as you can get. 

Here's what it will look like when you're done. This doesn't have to be perfect, as we're going to reinforce and cover this seam in the next few steps.

Cut a strip of your backing fabric about 2 inches wide and the length of the spine of your pad. Lay the strip on the right side of the seam you just sewed, then use a straight stitch to sew it down about 1/2 inch from the edge of the seam. Bonus if you get dog hair on your fabric.


After you've sewn down the first side, fold the loose edge of the fabric under about 1/2 inch... 

Then fold it over the seam you just sewed. See how we covered that seam up?

Pin that sucker down...

And top-stitch it.

Here's what it will look like after you're done.

We did the bottom side first for a good reason... see how ugly the top seam looks, with the stitching on either side? We're going to cover this up in exactly the same way.

Cut a 2.5 inch wide strip of brocade the length of your pad, then sew it about 3/4 of an inch inside your seam.

Fold the loose edge over, then pin in place.


Here's what it looks like after you've topstitched it down.

And here's the back. Now all the ugly seams won't show on the top of our pad!

We're almost done! We just need to put on a binding, some trim, and the billet straps. 

You can purchase bias tape from the fabric store to use as your binding. However, it only comes in cotton fabric, and the number of colors are limited. I also find it to be kinda pricey, lol, so I make my own. It's really, REALLY important to use bias-cut binding instead of ribbon or straight-cut binding.  Here's why: 

Fabric is woven in two directions - the warp and the woof. If you pull your fabric in either of those directions, it doesn't stretch. However, if you pull it across the diagonal (the bias), it stretches quite a bit! You can see that here with the the fabric I used - the diagonal ripples in the fabric show the bias. The stretch in bias tape allows you to go around the curves of the pad without wrinkling the binding.

I used this super-handy-dandy bias tape maker - and my trusty iron - to make my own bias tape in a matching color (again, extra fabric laying around). 

When you're sewing your bias tape down, sew it to the bottom of your pad first.  

Fold it over and around to the top of the pad, then pin it in place. You can see how easily it's curving around the pad, and there are no wrinkles.

All pinned down and just about to sew...

And volia! Looking good.

The second-to-last step... sewing down the trim. The trim is actually the only thing I had to buy at the fabric store, lol! I used silver metallic thread to match, and just zigzagged over it.

And last but not least, billet straps! Be sure to burn the ends of the webbing (to prevent fraying) before you sew it on.

Here's the finished product. I think it looks super classy, and the wool backing gives it a good weight and nice structure. I want to give it a test ride, but I'm also thinking I might save it as a show pad!